Window and Door Frame Lifts: A Guide to Safe Jobsite Installation
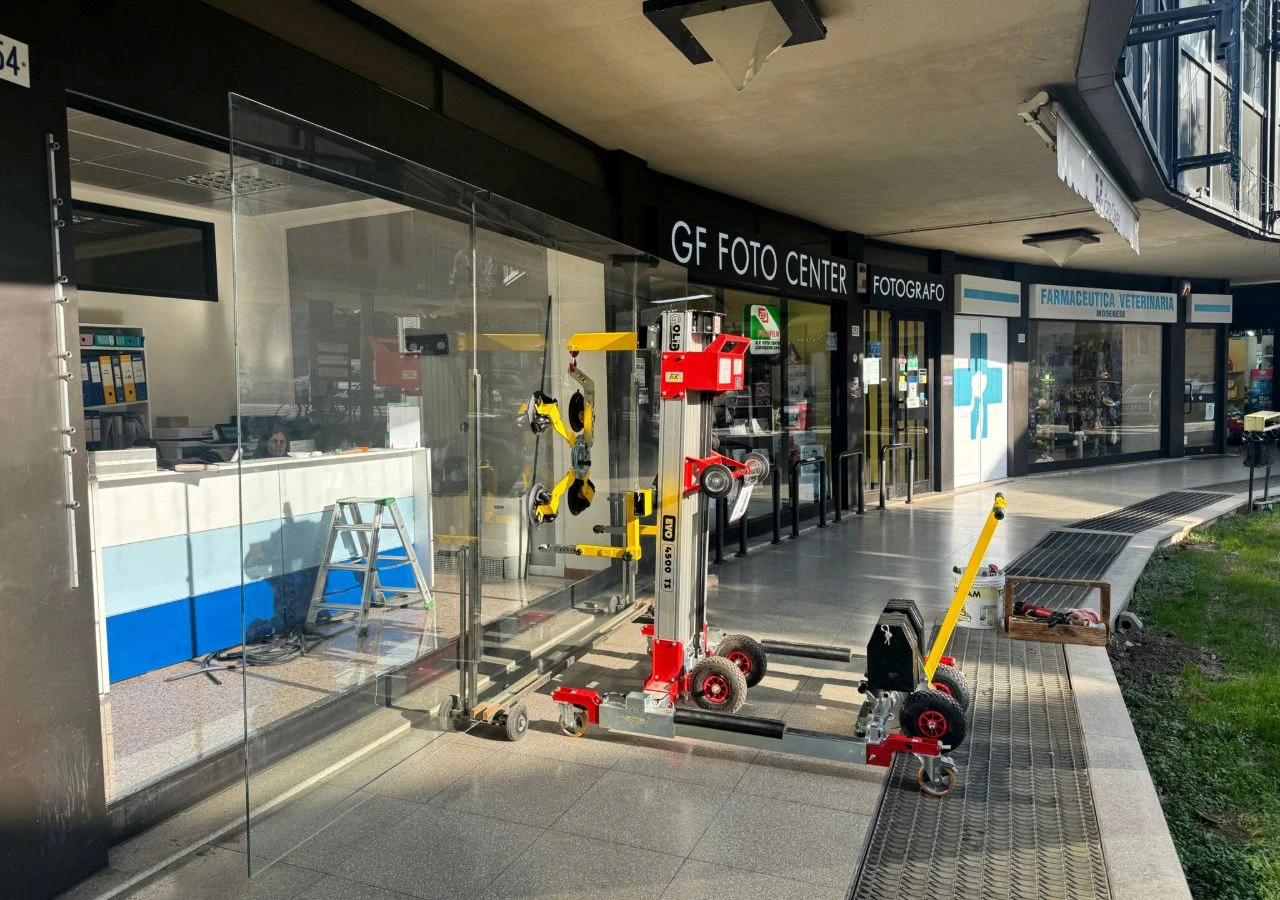
Handling and installing heavy window and door frames requires method, control, and equipment chosen based on real jobsite conditions. Larger openings, ultra-thin profiles, and high-performance insulated glass units have transformed the installation process. Windows, patio doors, and lift-and-slide systems can be heavy, bulky, and difficult to manage during final placement—precisely when accuracy and stability are paramount.
Relying solely on manual labor increases physical exertion and the risk of impacts, load imbalance, or sudden corrections. A dedicated frame lift supports the load, elevates it to working height, and allows the crew to focus entirely on alignment and fastening. However, machinery alone is not enough: a safe installation process requires a clear, step-by-step protocol from site preparation to final checks.
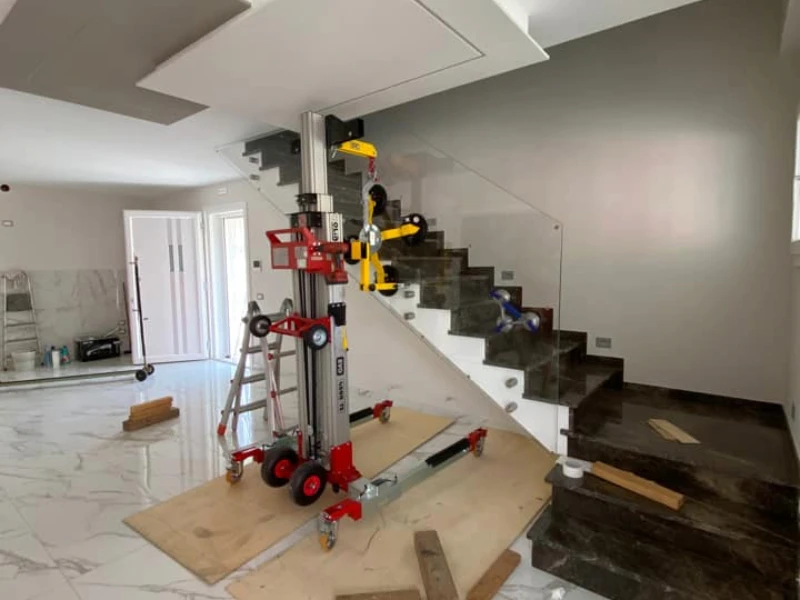
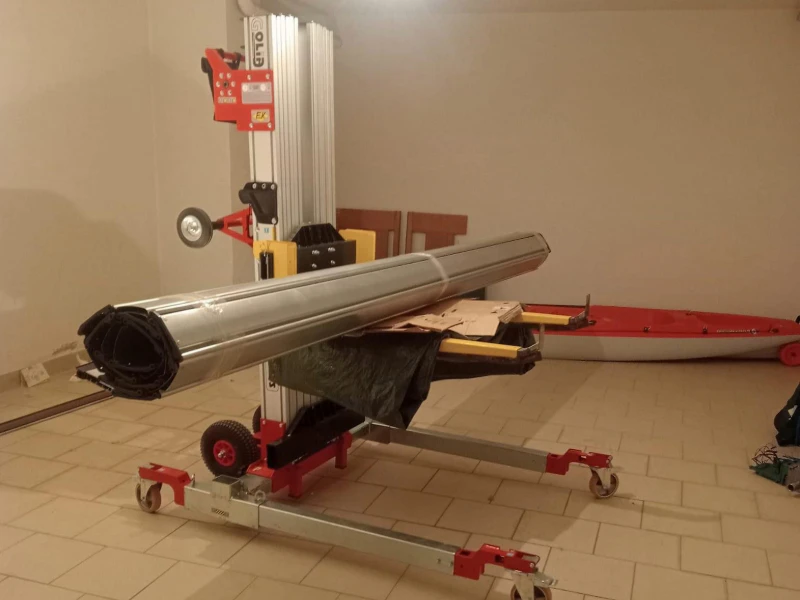
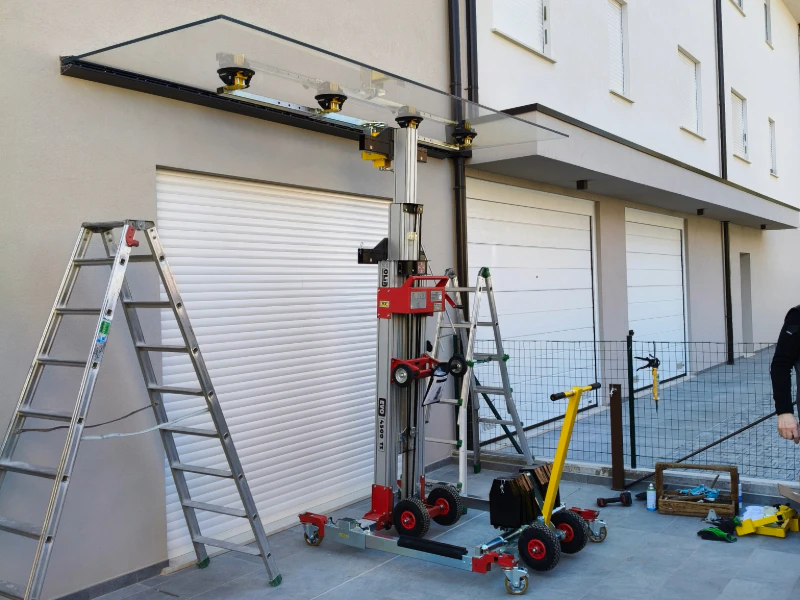
What Is a Window and Frame Lift? A frame lift is a professional piece of material handling equipment engineered to transport, elevate, and position door frames, glazed units, glass sheets, and heavy architectural components. Depending on the model and configuration, the load is supported via forks, load cradles, or suction cup systems.
Beyond increasing lifting capacity, the primary advantage is maintaining total load stability throughout the process—from unloading to positioning, even when navigating narrow doors, corridors, or finished interiors. For installers and glaziers, this delivers reduced physical strain, higher installation accuracy, and improved crew efficiency.
Why Frame Installation Requires Prior Risk Evaluation Two frames of identical weight can present vastly different operational challenges. Dimensions, center of gravity, material fragility, reach height, and access routes are just as critical as the mass itself. Jobsite flooring also plays a role: smooth, flat surfaces differ greatly from ramps, rough terrain, or areas with steps and thresholds.
Risk prevention begins with a site survey. In Europe, manual material handling standards (such as ISO 11228 and regional occupational health regulations) stipulate that lifting limits must account for posture, frequency, working environment, and load geometry. Utilizing mechanized lifting equipment minimizes worker exposure to physical injury, but it must be integrated into a structured workflow with fully trained operators.
How to Choose the Right Lift for Your Jobsite Selecting equipment requires looking beyond nominal load capacity. Before choosing a model, gather the following essential site data:
Actual Weight: Total weight including glass, frame, and attached hardware;
Dimensions and Center of Gravity: Asymmetrical or wide loads require specific frame balance configurations;
Reach Height and Working Distance: Verify load chart limits at maximum reach;
Lifting Attachment Type: Suction pads, forks, or cradles compatible with the material's surface finish;
Access Constraints: Doorway widths, turning radiuses, elevator dimensions, and floor thresholds;
Ground Conditions: Surface load-bearing capacity and stabilization area.
Always select equipment with an adequate safety margin and consult load diagrams. Never assume declared capacity applies universally across all heights or attachments.
Safe Installation Protocol: 7 Operational Phases
Plan the Route and Installation Zone Measure access passages, clear obstacles, cover finished surfaces, and verify ground capacity. Cordon off the working zone to prevent unauthorized access. Assess inclines, steps, or overhead hazards prior to starting.
Inspect the Lift and Attachments Perform pre-use checks according to the user manual: chassis, wheels, brakes, outriggers, lifting mechanisms, and safety stops. Inspect chains, cables, forks, and vacuum pads for wear or damage.
Prepare the Frame and Position the Gripping System Identify the load’s center of gravity and secure any loose or operable sashes. Ensure suction pads are applied exclusively to clean, smooth, non-porous surfaces. Ensure forks or cradles support structural points without damaging profiles or hardware.
Secure and Test-Lift the Load Position the lift on stable ground with the mast lowered. Center the load and engage all mechanical restraints or vacuum systems. Check vacuum gauges/alarms where applicable. Perform a test lift a few centimeters off the ground to verify balance and vacuum hold before transport.
Transport at Low Height Keep the load as low to the ground as possible during transit and move at a controlled speed. Avoid abrupt stops, sharp turns, or sudden acceleration. Ensure no personnel stand underneath or in front of the load.
Elevate and Align to the Rough Opening Stabilize the machine on-site according to the manual. Elevate the load smoothly, keeping it in direct line of sight. Make fine adjustments (height, pitch, and rotation) without applying excessive lateral force against structural openings.
Anchor, Release, and Wrap Up Release the load only after the frame is fully secured to the subframe per installation specs. Lower the lift mechanism completely, secure the unit, and report any operational anomalies before storage.
Common Errors to Avoid Estimating weight by sight or omitting frame/hardware weight;
Exceeding rated capacity or deviating from manufacturer-approved configurations;
Operating on unverified slopes, soft ground, or unrated flooring;
Transporting loads at elevated heights;
Forcing alignment by pulling or pushing the elevated load laterally;
Standing within the crush zone or under suspended loads;
Skipping the test lift or using suction pads on dirty/textured surfaces;
Leaving elevated loads unattended.
Suction Cups vs. Forks: Choosing the Right Configuration Suction Cups: Ideal for smooth glass panes, non-porous panels, and sealed units. They offer clear visibility of the component and facilitate 360° rotation, but require clean surfaces and continuous vacuum monitoring.
Forks and Cradles: Support the load structurally from below. Best suited for complete window assemblies, irregular frames, or materials unsuited for vacuum grip. Requires mechanical tie-downs.
Benefits of Mechanized Frame Installation Substantial reduction in manual lifting and ergonomic hazards;
Precise control when positioning fragile, bulky, or high-value architectural elements;
Enhanced alignment accuracy against subframes;
Streamlined crew organization and reduced jobsite downtime;
Ability to operate in confined spaces where heavy cranes or telehandlers cannot enter.
Golia Lifts for Windows and Glazing The Golia range provides compact, versatile lifts designed specifically for windows, doors, and structural glazing. Featuring varying load capacities and reach heights, Golia lifts enable smooth maneuvering through tight residential interiors or effortless positioning of large commercial curtain walls and lift-and-slide doors.